No products in the cart

Gen 3: Replace Pump
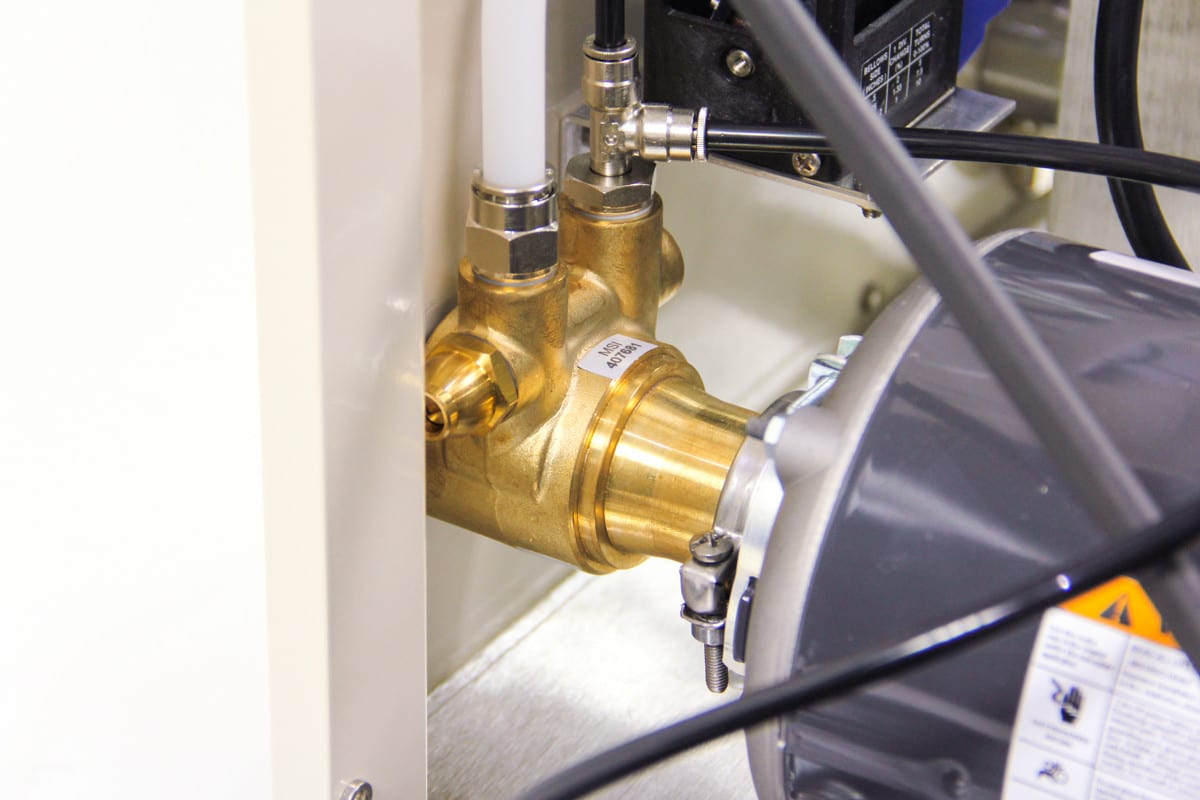
The pump is located in the back left corner of the unit. The sidewalls must be removed to access it.
Time: 20 minutes
Tools:
- Phillips head screwdriver
- 3/4″ wrench
Parts:
- Gen 3/1.3 Brass Pump, including clamp (#10820)
1. Remove sidewalls, controller and shroud. See Gen 3: Access Components by Removing Sidewalls.
2. Remove existing pump
A. Using Phillips screwdriver, remove the screw in the clamp that connects the pump and motor and pull the pump off the motor.
B. Release the intake and discharge tubing from the push-to-connect fittings on the pump.
C. Use 3/4″ wrench to remove the fittings from the pump. You will assemble these onto the new pump.
3. Replace with new pump and test
A. Use 3/4″ wrench to assemble fittings onto new pump. Note that the tee-shaped fitting goes onto the pump port with the arrow pointing towards the fitting (discharge). The male connector goes onto the pump port with the arrow pointing towards the pump (intake).
i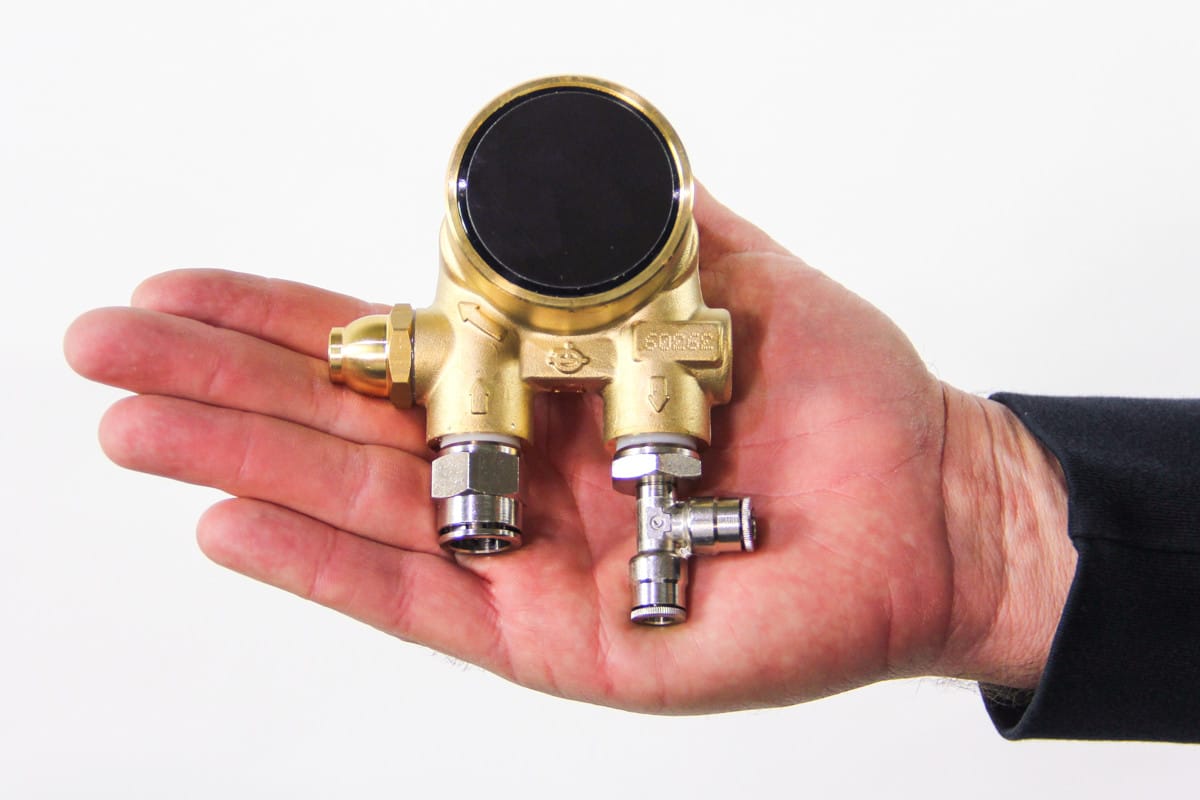
B. Insert intake and discharge tubing into push-connect-fittings on pump. Push tubing into fitting and then pull back ensure good connections.
C. Slide clamp with screw over pump and mate pump shaft to motor. Use Phiilips screwdriver to tighten clamp.
D. Run a remote or manual mist to ensure the unit is working properly.
4. Replace shroud, controller and sidewalls.