No products in the cart

Gen 1.3: Replace Remote Receiver
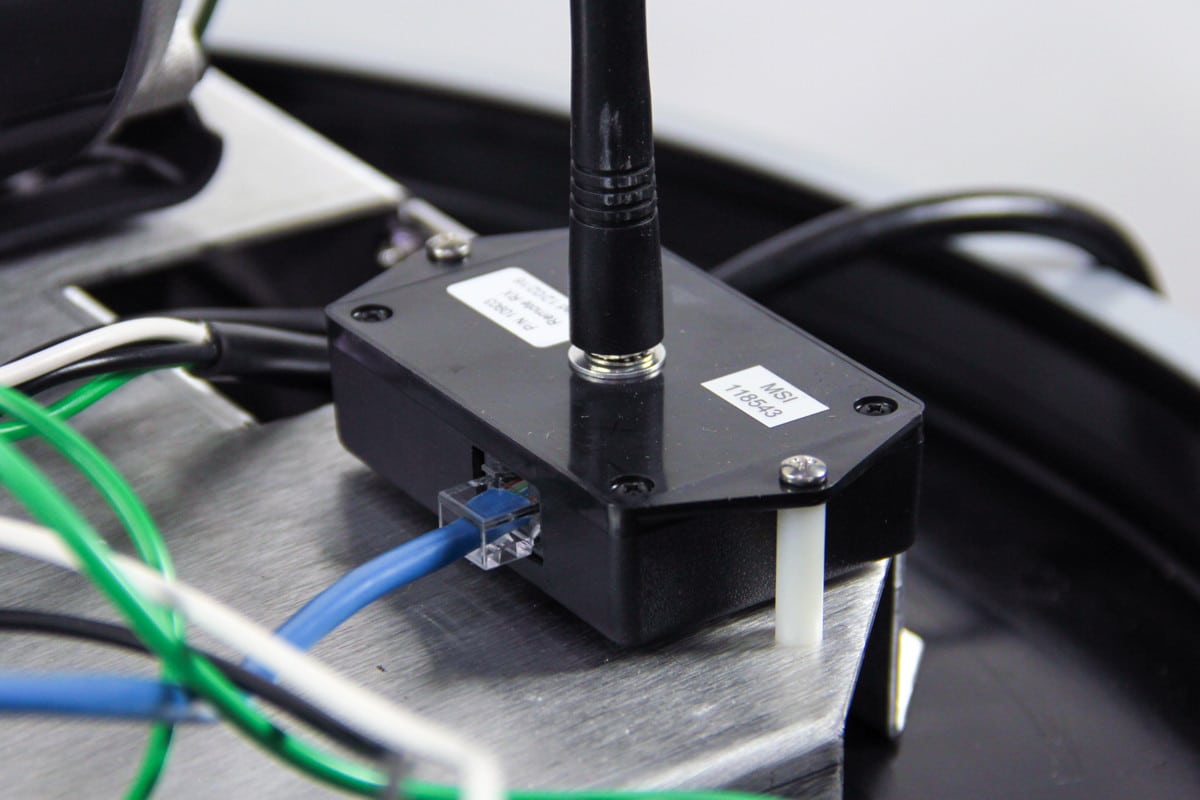
The primary cause of failure in the remote receiver is water entering the connection with the CAT 5 cable. When replacing the remote receiver, we advise also replacing the receiver cable and antenna.
Time: 5 minutes
Tools: Phillips screwdriver
Parts:
- Gen 1.3/3 – Remote Receiver (#10903)
- Gen 1.3/3 – Remote Antenna (#10961)
- Gen 1.3 – Remote Receiver Cable (#10968)
1. Reposition controller and plastic cover. See Gen 1.3: Access components by Repositioning Cover.
2. Disconnect cable and remove remote receiver and antenna.
A. Unplug the CAT 5 cable from both the controller and receiver and discard.
B. Remove the receiver/antenna by using a Phillips screwdriver to remove the two screws that secure it to the chassis. Discard the receiver and antenna, but keep the screws and spacers.
3. Replace with new remote receiver and antenna.
A. Secure new receiver to chassis with screws and spacers.
B. Screw new antenna onto connector.
C. Connect the new segment of CAT 5 cable to both the receiver and the controller.
4. Orient Remote Transmitter and test.
A. Conduct LRN routine to introduce transmitter to new receiver.
- SET-UP Menu, LRN
- Press and hold Green ► button for 5 secs until LRN ON and countdown starts
- Press and hold any button on remote transmitter until DONE is displayed.
B. Run remote mist to ensure receiver is working properly.
5. Return cover and controller to original position.