No products in the cart

Retrofitting iMist2 on an Existing Unit
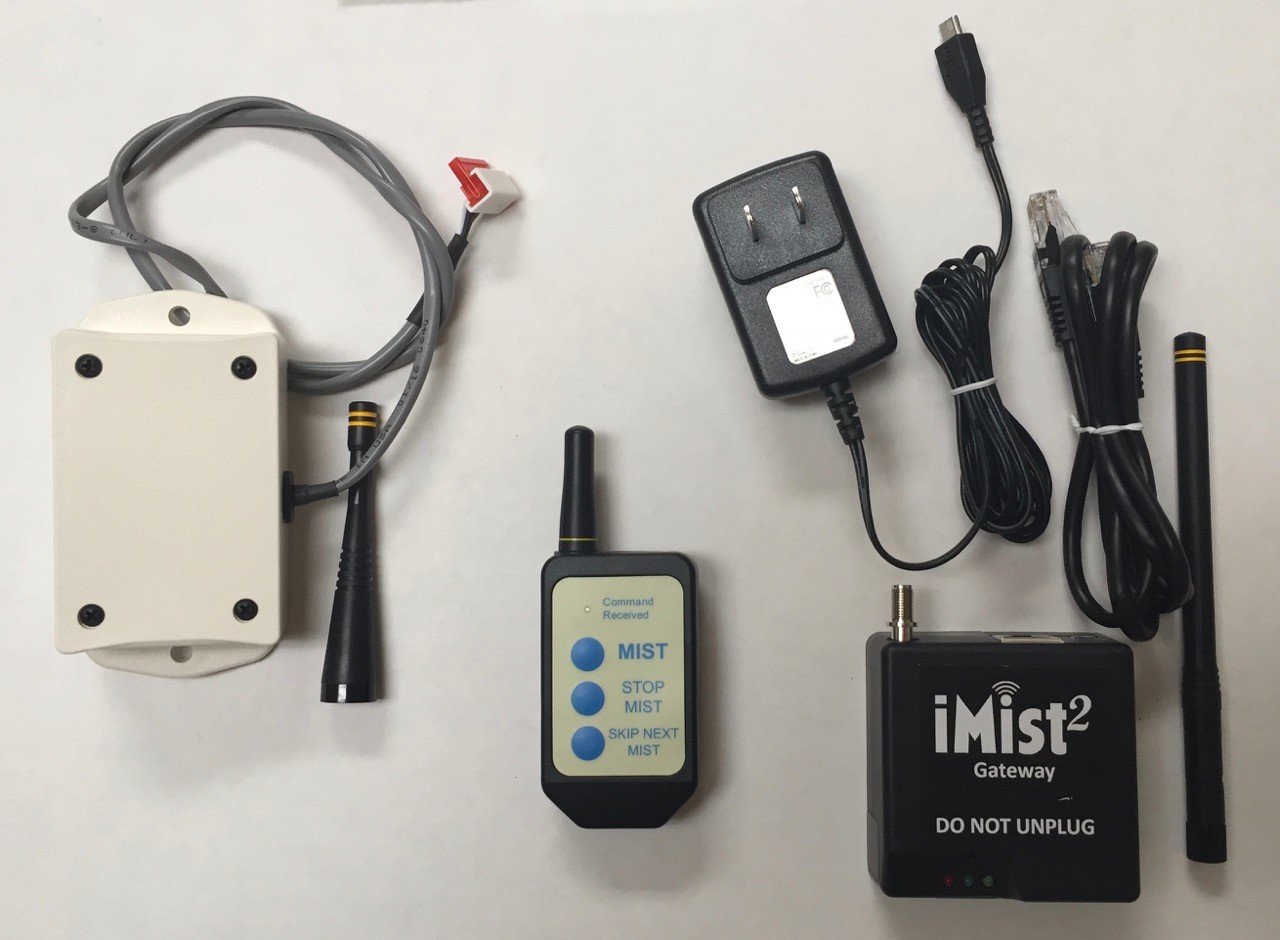
iMist2 Retrofit Kit includes:
- iMist2-ready receiver and antenna
- Handheld remote transmitter for iMist2-ready receiver
- iMist2 gateway, antenna, ethernet cable, power adapter
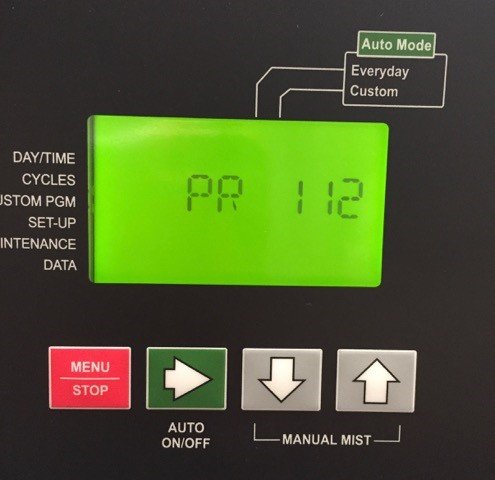
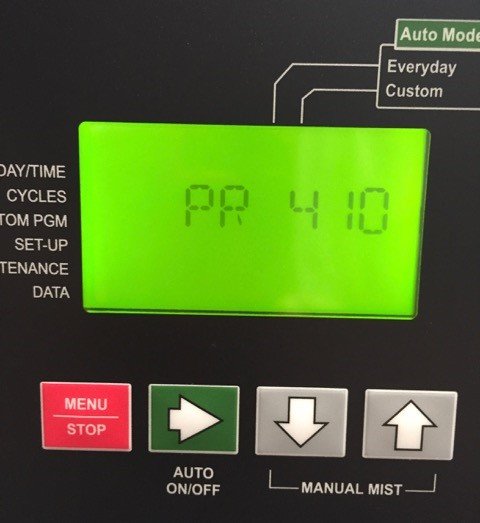
1. Confirm the controller firmware supports iMist2.
- Cycle power to unit and observe controller startup.
- For any Gen1.3 or Gen3, the firmware must contain “PR” followed by a 3 digit number.
- If you do not have a “PR” version of the firmware, send your controller to MistAway for a firmware upgrade.
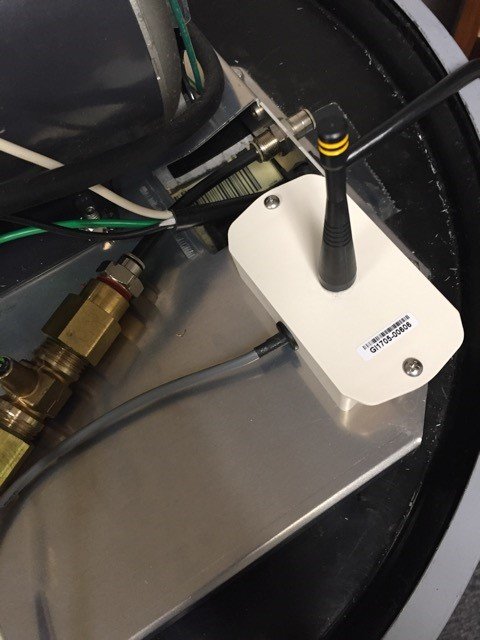
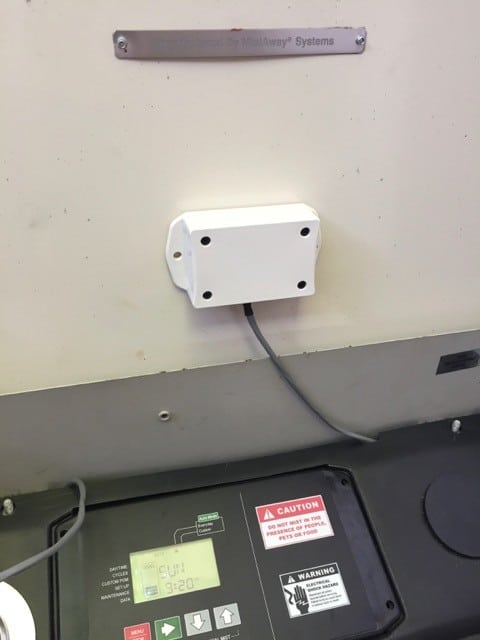
2. Install iMist2-ready receiver on unit (pictured)
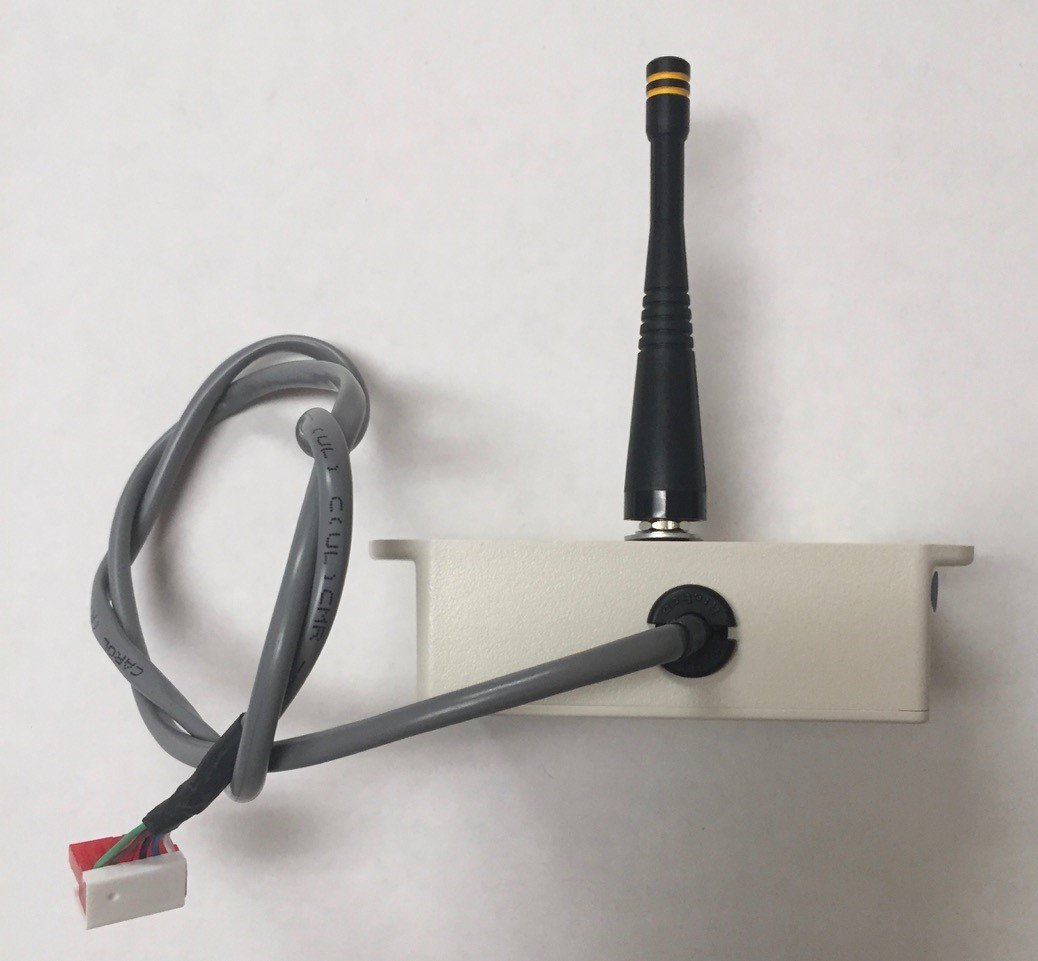
- Unplug misting unit and lift controller from well without disconnecting cables.
- If Gen 1.3, see Gen 1.3: Access Components by Repositioning Cover. Remove existing (black) receiver, antenna (blue rings) and ethernet cable, and replace with white iMist2-ready receiver and antenna (one-piece, yellow-rings).
- If Gen 3, Remove existing (black) receiver, antenna and cable from lid and replace with white iMist2-ready receiver and antenna. Thread gray receiver cable through slot in shroud and up through well to controller.
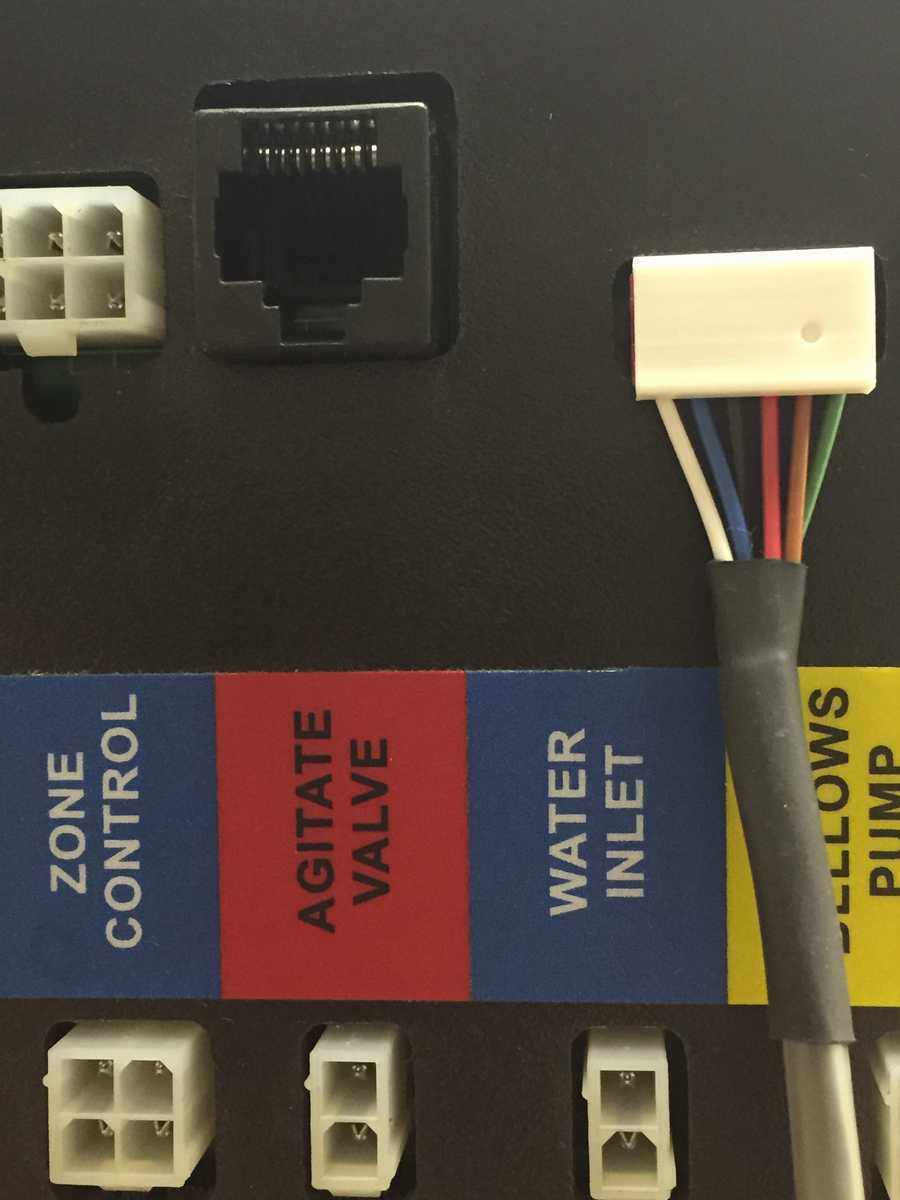
- Connect white connector on cable to six pin port on controller as shown.
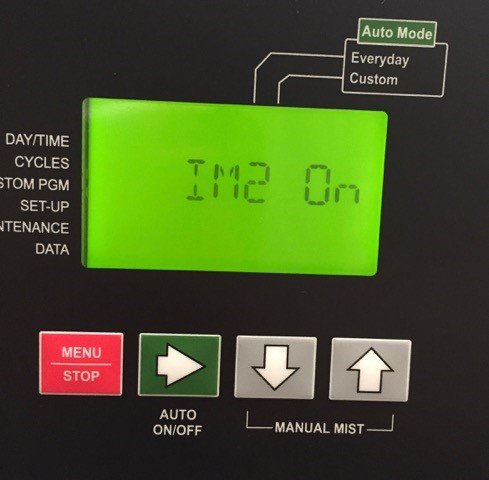
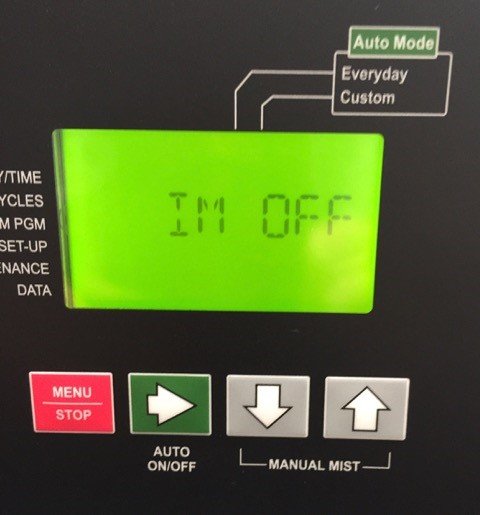
- Restore power to unit and observe boot-up. Confirm you see IM2 On.
- If you see IM OFF, unplug unit, reseat connector, restore power and observe boot-up.
- Replace controller and plastic housing in operating position.
3. See Controller: “Learning” the iMist2-ready Handheld Remote Transmitter
4. See Installing and Activating iMist2