No products in the cart

Gen 1.3: Pressure Gauge Replacement Kit Installation
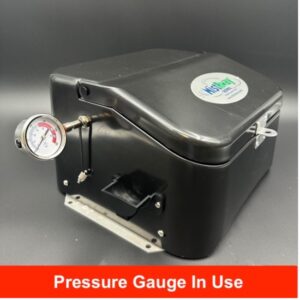
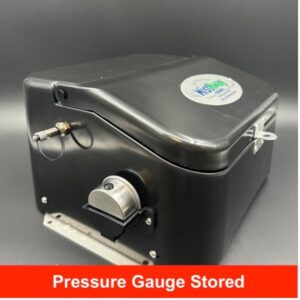
MistAway’s new pressure gauge is designed to be removable and stored away when not in use. Simply unscrew the pressure gauge, store it in the provided gauge holder, and make sure to thread the tethered plug onto the open gauge fitting assembly to cap it off. The following article will detail the instructions of the retrofit process on the Gen 1.3 system.
Parts List:
You will find the following parts included in the Gen 1.3 Pressure Gauge Retrofit Kit:
- 1 x Pressure Gauge Assembly (PN#20193)
- 1 x Gauge Adapter Fitting (PN#10169)
- 1 x 1/4″ Bulkhead (PN#10166)
- 1 x Threaded Plug (PN#15080)
- 1 x Plug Tether (PN#11445)
- 1 x Gauge Holder (PN#11440)
- 2 x Self-Tapping Screws
- 1 x Black Vinyl Sticker
- 1 x Pre-cut 1/4′ Nylon Tube (Use only if necessary)
Tools List:
- 1 x Drill
- 1 x 9/16″ Drill Bit (Example: https://shorturl.at/J0lF5)
- 1 x Phillips Head Screwdriver
- 1 x Tape Measure
- 1 x Tube Cutter
- 1 x Sharpie/Marker
Estimated Time: 15-20 Minutes
Installation Instructions:
1. Remove Existing Pressure Gauge from Service
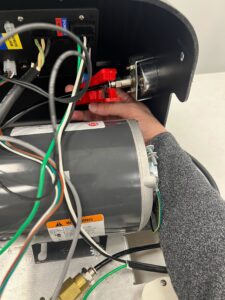
- Remove plastic shroud screws (x4) and tilt the Gen 1.3 shroud backwards.
- Cut the black plastic tube connected to the back of the existing pressure gauge as close to the gauge as possible. This tube will remain sitting loose in its connection for now
- Use the provided black vinyl sticker to cover the old pressure gauge window, denoting it is out of service.
2. Install the Adapter Fitting for the New Pressure Gauge
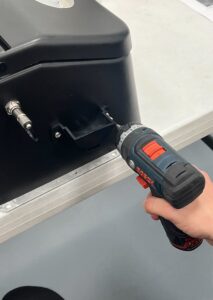
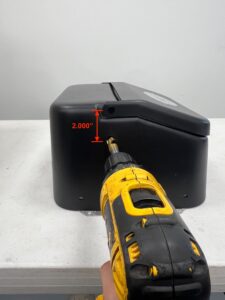
- On the left face of the plastic shroud, using a 9/16″ drill bit, drill a hole 2″ directly below the push-in lid fastener.
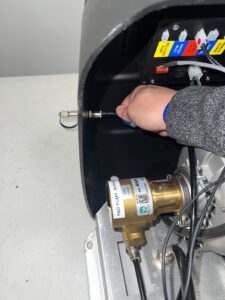
- Install the new gauge adapter fitting in this hole by removing a washer from one side of bulkhead fitting, placing the fitting through the hole, placing the washer back on, and tightening the washers on each side of the fitting.
- Connect the cut 1/4″ black tube from earlier to the gauge adapter fitting.
3. Mount New Gauge Holder
- Using the provided self-tapping screws, mount the gauge holder to the left face of the Gen 1.3 shroud.