No products in the cart

Gen 3: Replace Blue Bellows Pump With Red Bellows Pump
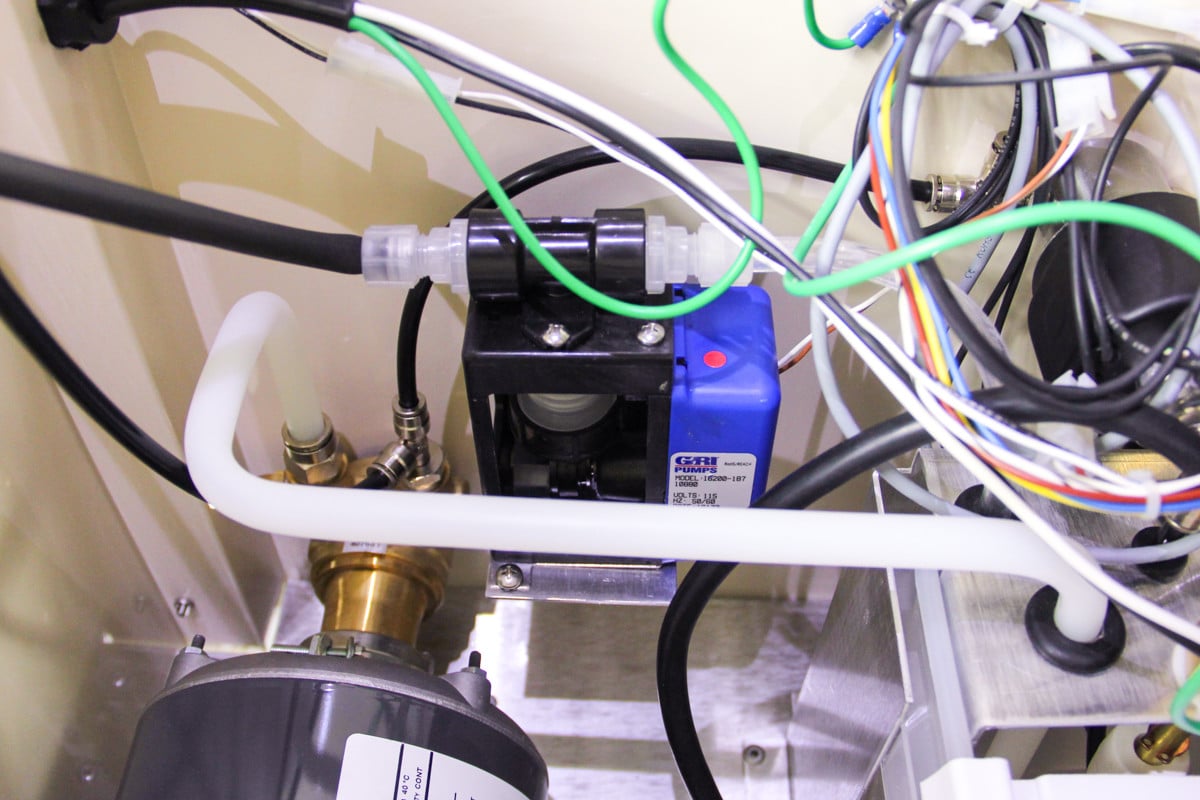
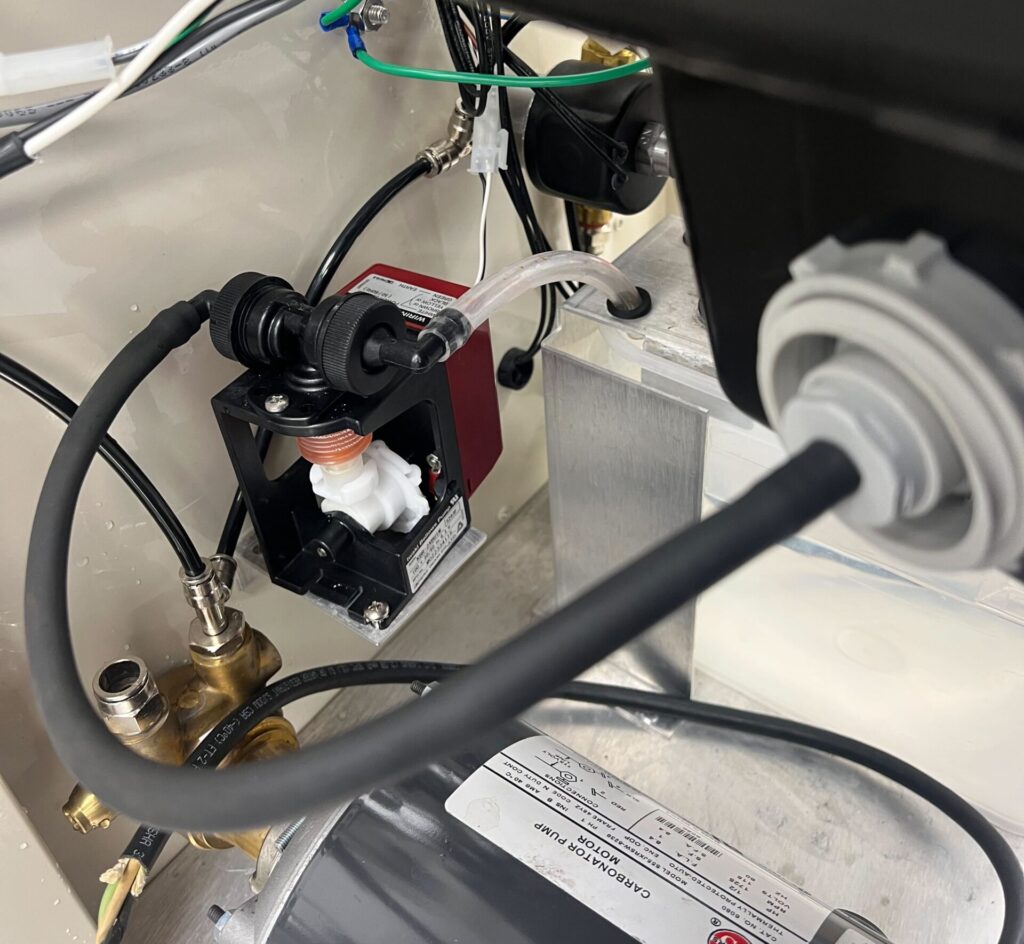
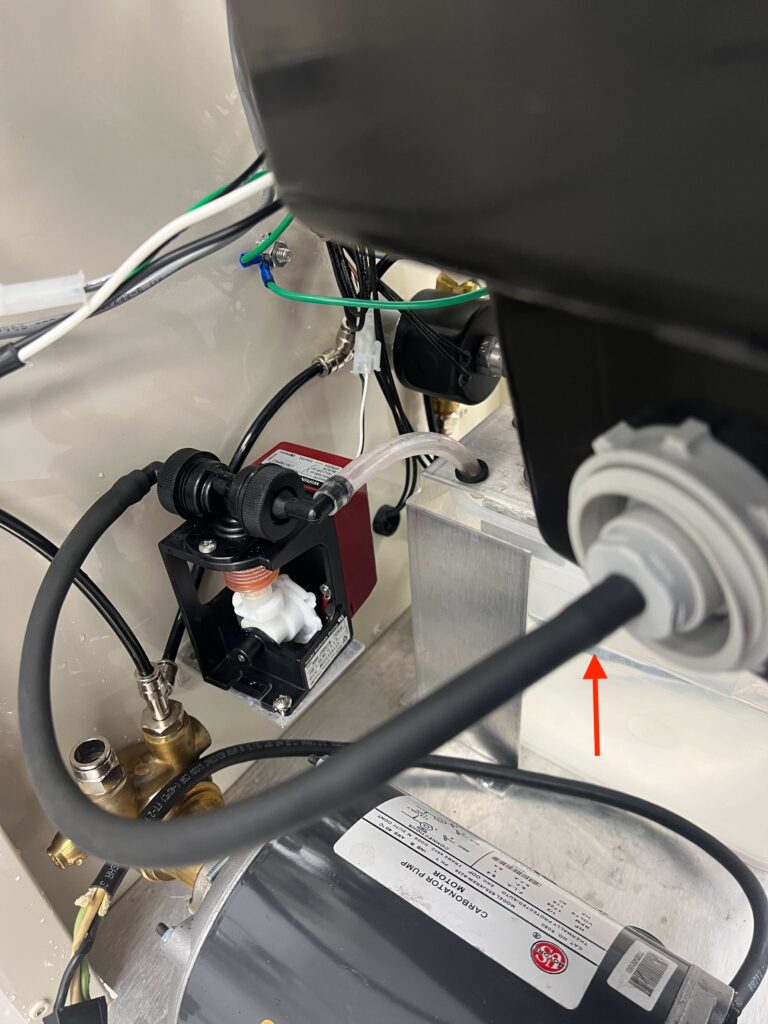
The original bellows pump is the black and blue component mounted to a bracket on the left back wall of the unit. This has now been replaced with a new-style pump that is red and black and has a different coupling geometry on top. Please note that the clear discharge tube for the red bellows pump has a larger diameter than the discharge tube of the original pump.
Time: 15 minutes
Tools:
- Phillips head screwdriver (magnetized)
- zip tie snip and zip tie
- paper towels for blotting concentrate
Parts:
- Gen 3 Mini Bellows Pump, including tubing (#21035)
1. Remove bottle. Reposition controller and shroud. See Gen 3: Access Components by Repositioning Shroud.
2. Remove existing blue bellows pump
C. Disconnect bellows pump lead (brown, white wires, 2 pin connector) from wiring harness.
D. Pull clear flexible tubing on the right (discharge) side of the bellows out of the batch tank.
E. Snip zip tie securing dark flexible tubing to hose barb on coupler and pull tubing off the hose barb. Use paper towels to blot any concentrate that may leak.
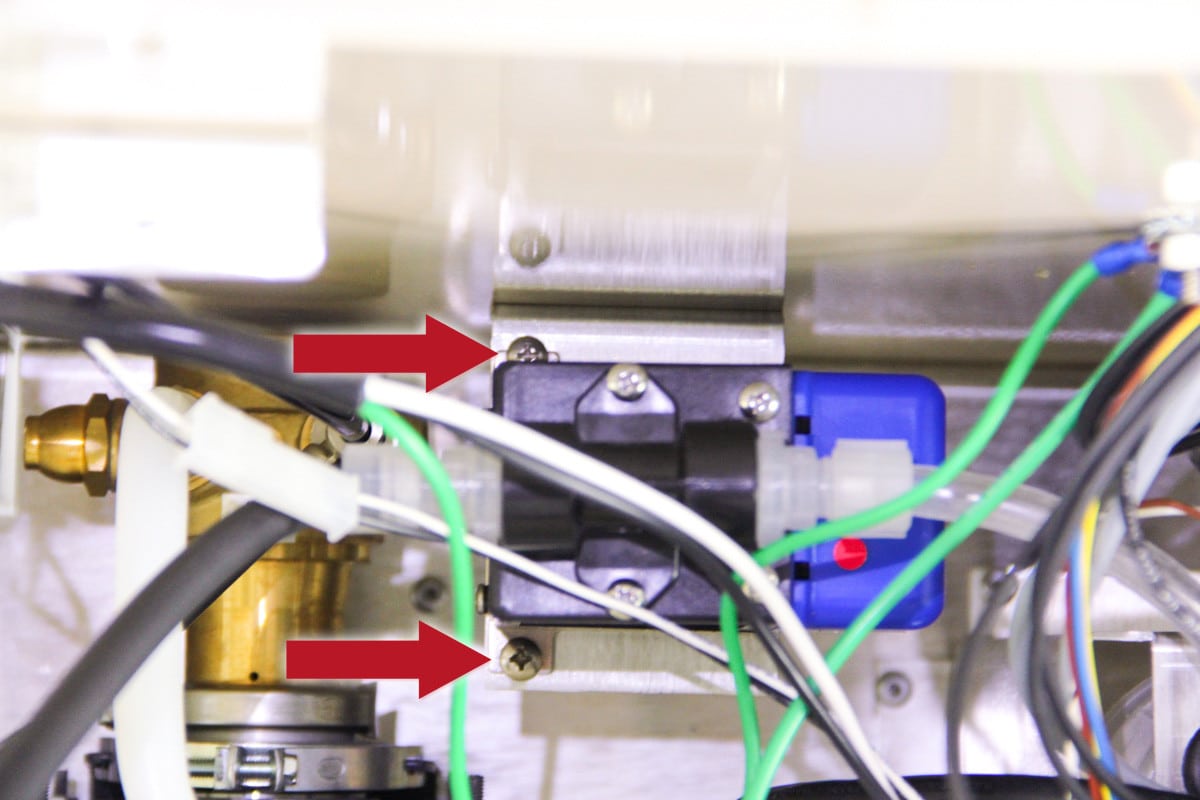
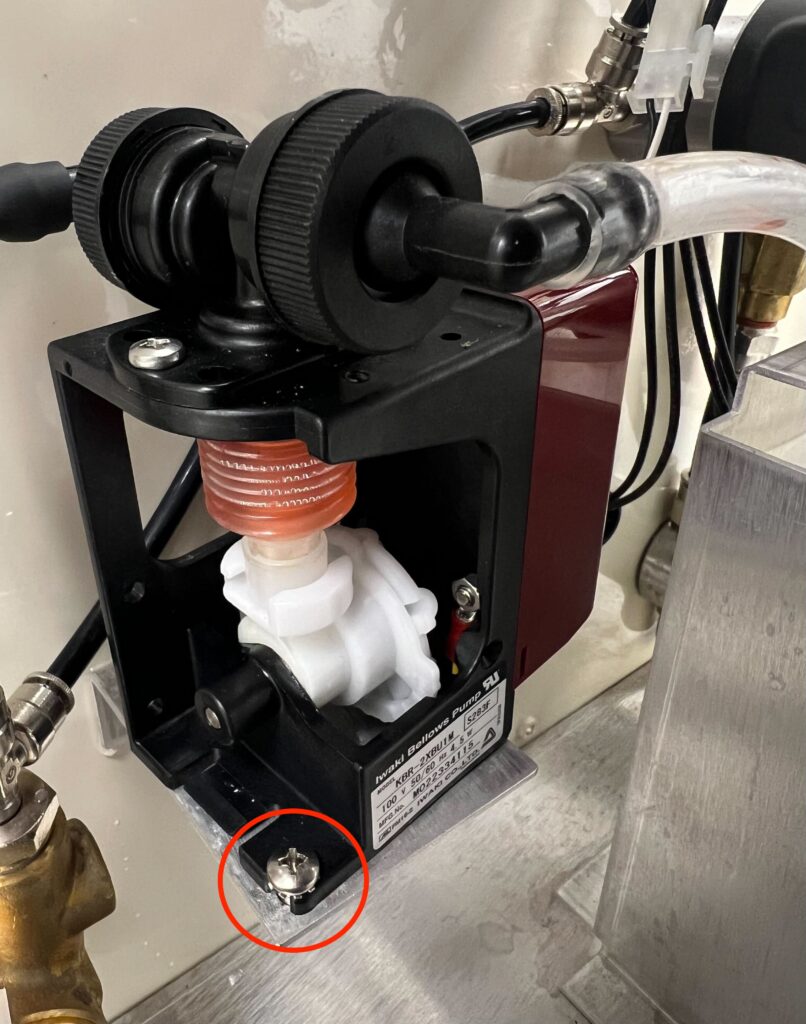
F. The bellows pump frame is secured to bracket with two screws as shown. Using magnetized Phillips head screwdriver, first remove screw nearest you. Pull the pump slightly toward you, and then remove the back screw (this screw is no longer used with the new pump).
G. Slide bellows pump toward you and remove from unit.
3. Replace with red bellows pump
A. Position red bellows pump on the bracket and align the largest notch on the pump with the bracket screw hole nearest to you, then tighten the screw to secure the pump to the bracket as shown. As a reminder, the back screw hole will go unused with the red bellows pump.
B. Slide the free end of the dark flexible tubing to the hose barb on the coupler and secure with zip tie.
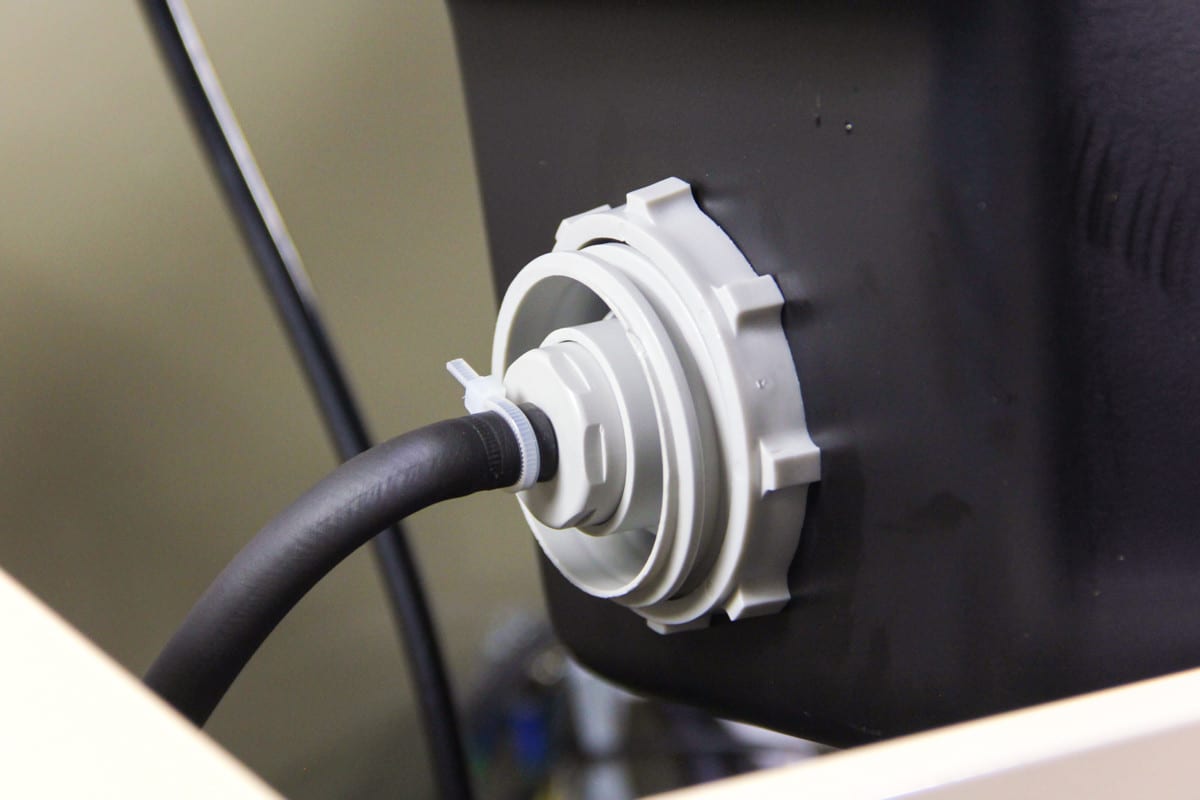
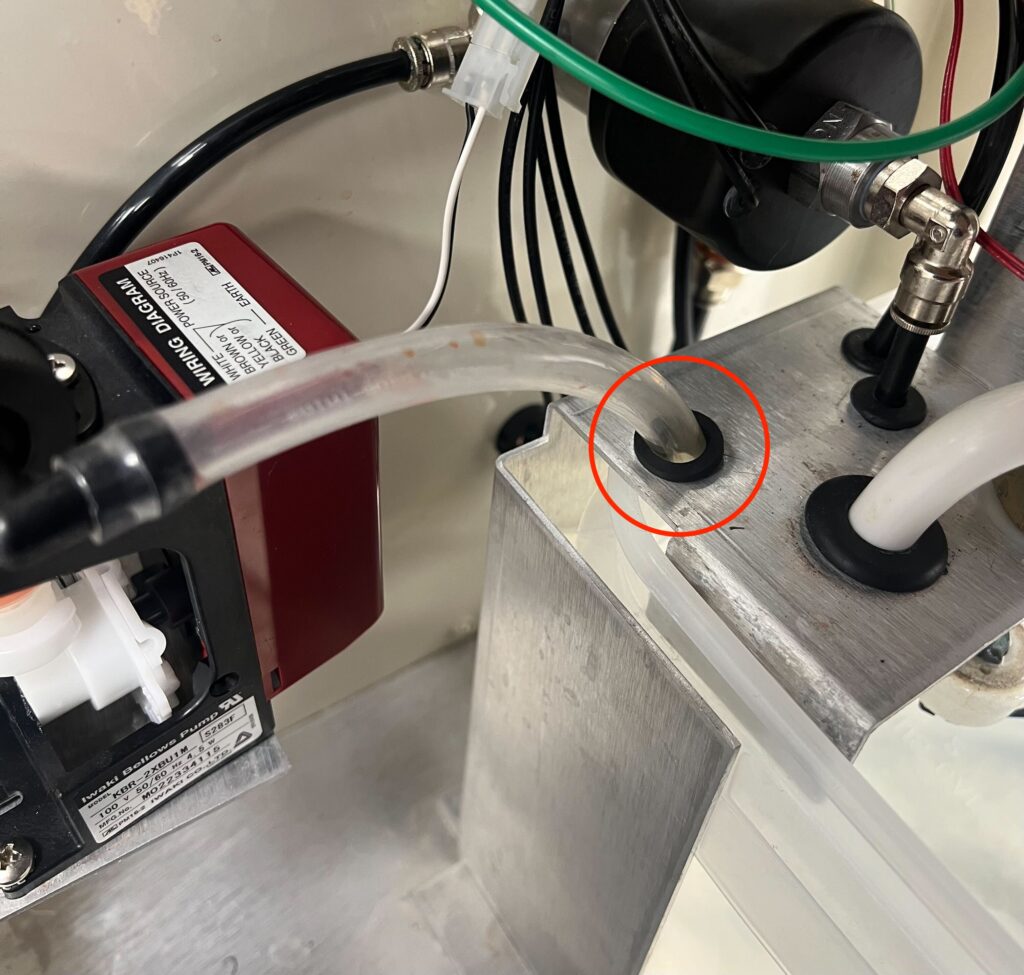
C. Remove old rubber grommet from batch tank bracket and replace with new, larger grommet that comes with new pump. Next, push the clear flexible tubing on the near (discharge) side of the red bellows pump into the new grommet above the batch tank so that the concentrate will pump into the batch tank. DO NOT FORGET TO DO THIS!
D. Connect the red bellows pump lead (black, white wires, 2 pin connector) to the wiring harness.
4. Return shroud and controller to original position.
5. Test bellows pump.
A. Insert the insecticide bottle into the coupler and run a charge.
- MAINTENANCE Menu, scroll to CHG.
- Press and hold Green ► button for 3 seconds.
- DOSE will flash for an extended period.
B. While DOSE is flashing, lift the controller from its well in the shroud. You should be able to see the white plastic bellows contracting and expanding. After the pump primes, you should see be able to see the insecticide moving through the clear discharge tubing.