No products in the cart

Gen 3: Replace Coupler
Time: 10 minutes
Tools:
- snip for zip tie and small zip tie
- paper towels to blot concentrate
Parts:
- Gen 3 Coupler (#21060)
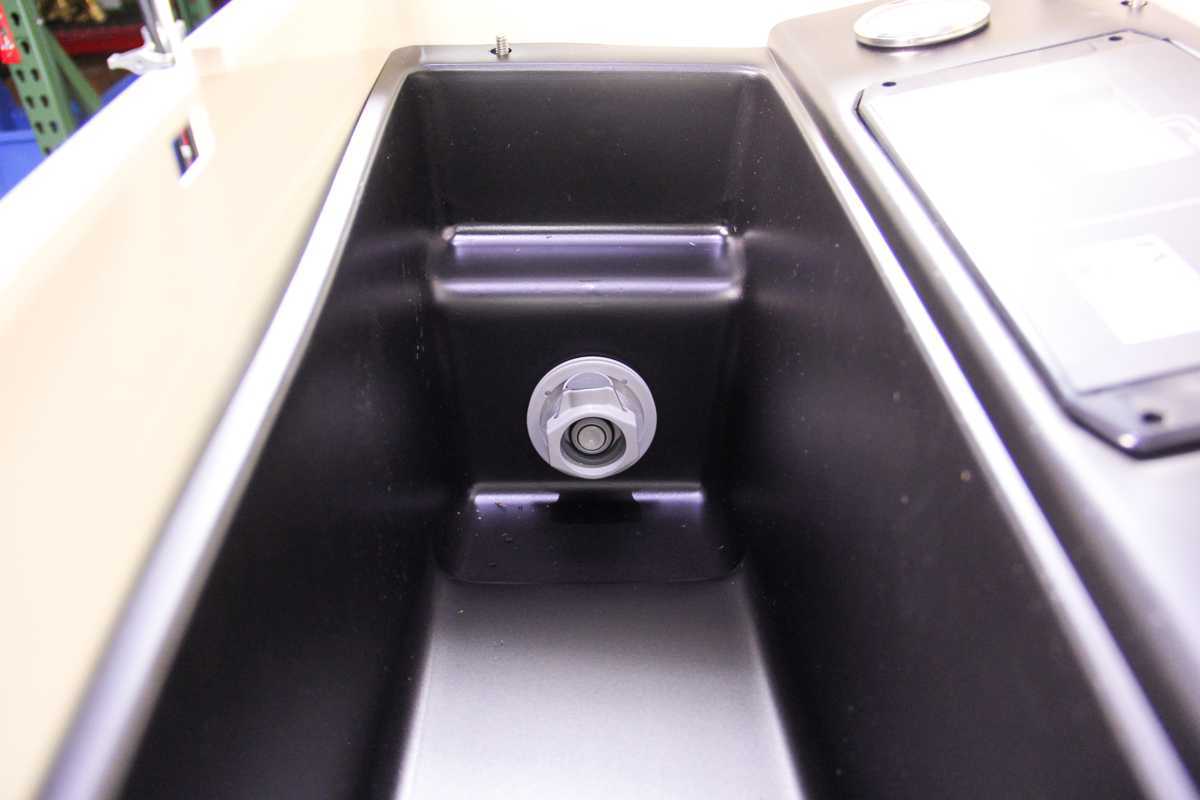
1. Remove bottle. Reposition controller and shroud. See Gen 3: Access Components by Repositioning Shroud.
2. Remove existing coupler and replace with new coupler
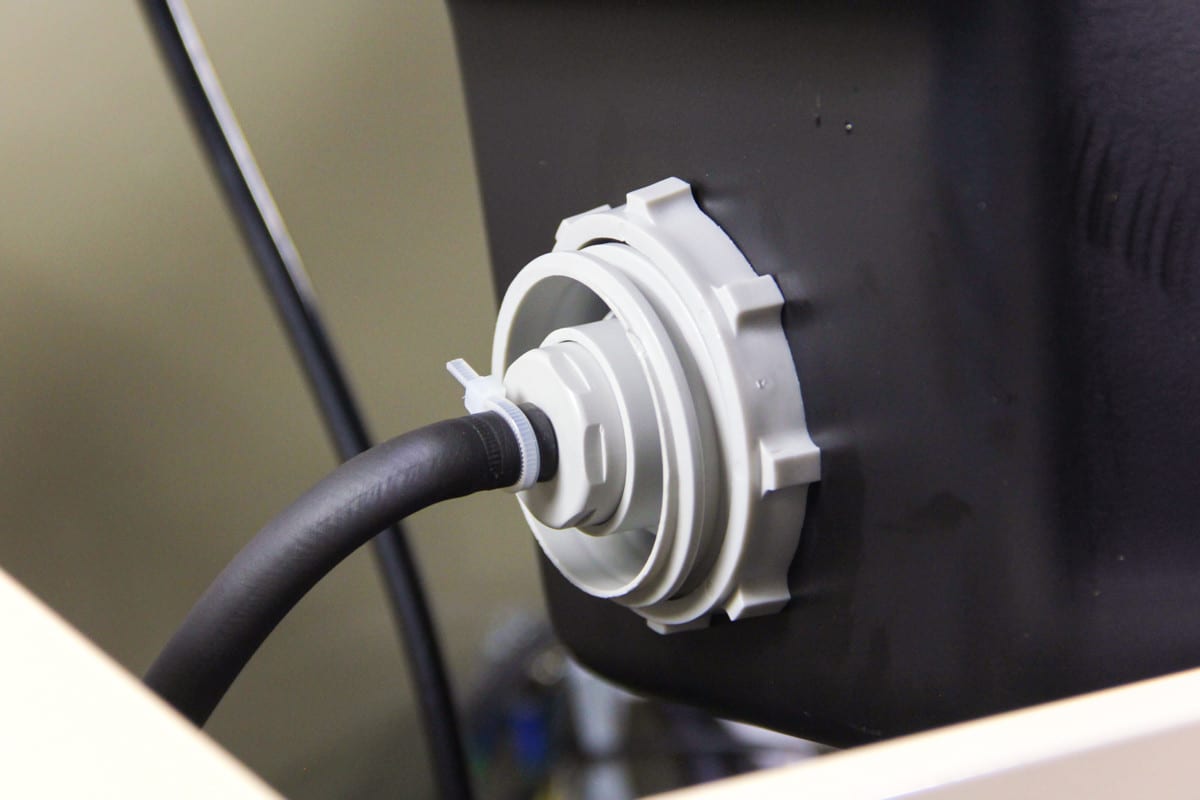
A. Cut zip tie securing flexible tubing to coupler. Pull black tubing off of hose barb. Allow concentrate in tubing and coupler to drain onto paper towel.
B. To release the coupler, hold the coupler inside the shroud while twisting the nut on the other side. After removing the nut, spin the coupler counter clockwise out of the hole in the shroud.
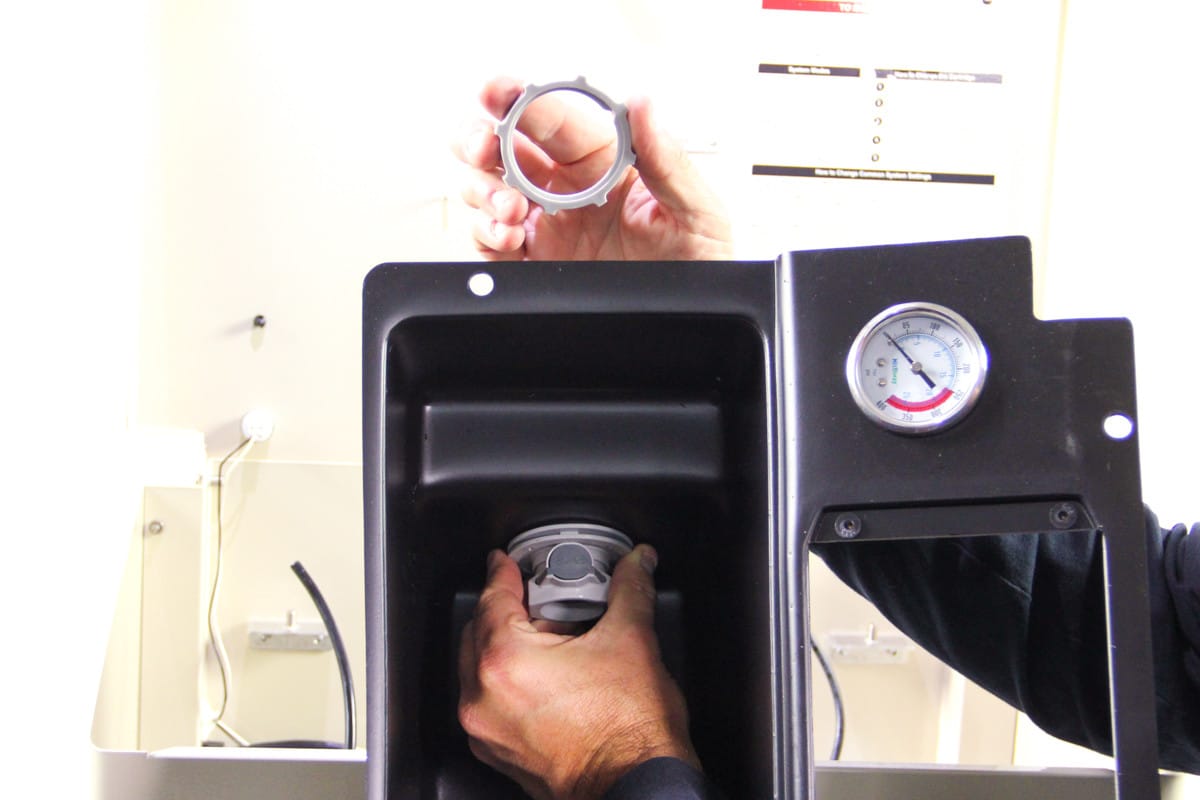
C. Insert the new coupler into the hole and spin it clockwise.
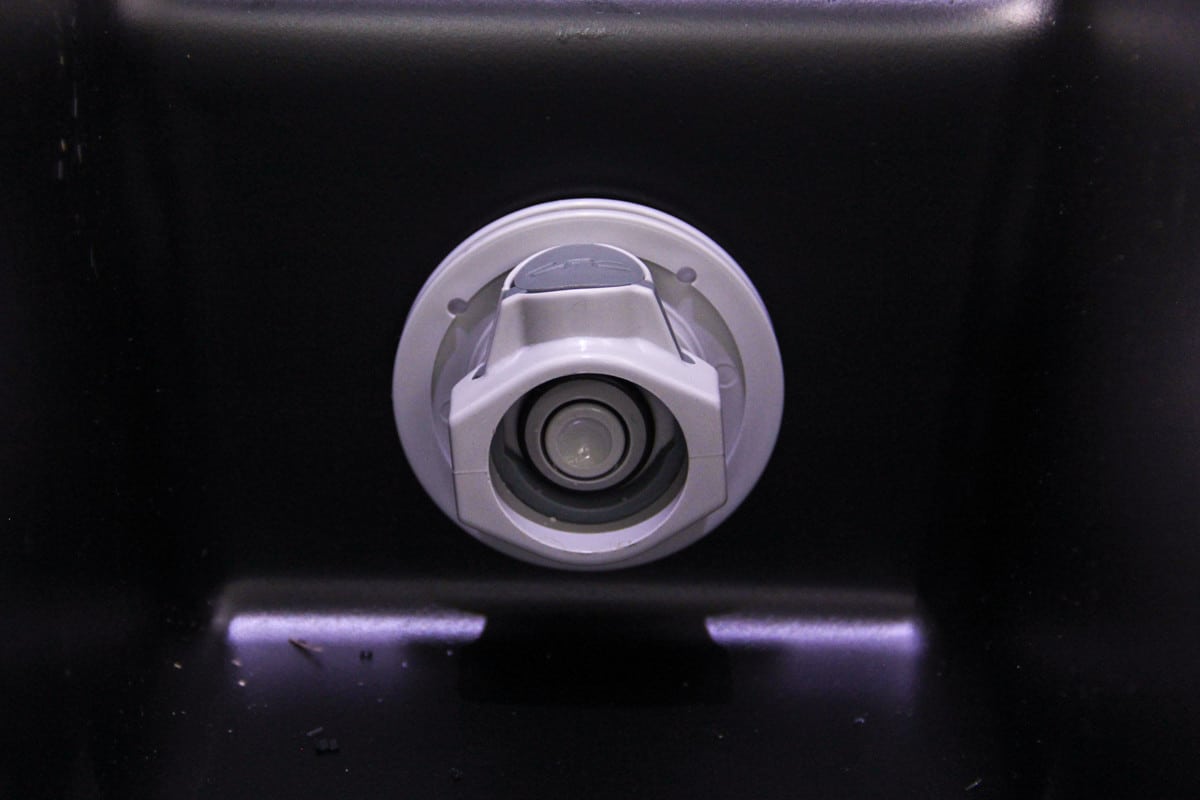
D. Screw the nut onto the coupler. Before tightening completely, make sure the button to release the insecticide bottle is pointed up so that it is accessible to the user.
E. Push the black tubing onto the hose barb and secure with a zip tie.
3. Return shroud and controller to original position.